Did you make this? I want to see how it turned out! Tag me in your social media post @projectmealplan and use #projectmealplan when you share!
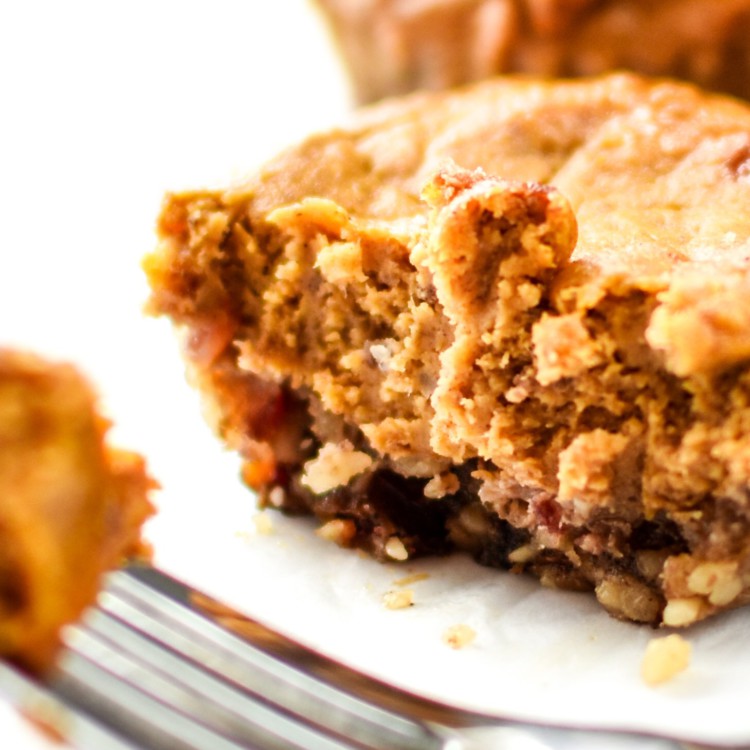
Fruit-Sweetened Mini Pumpkin Pies
Yield: 24 mini pies 1x
Prep: 25 minutesCook: 50 minutesTotal: 1 hour 15 minutes
Super adorable, creamy and delicious, not to mention both the crust and filling have no sugar added! Try this classic dessert in an easy to hold, pop-in-your-mouth version!
Scale:
Ingredients
For the crust:
- 1 1/2 cups pitted medjool dates
- 2 1/2 cups raw walnuts
- 1/4 teaspoon salt
For the filling:
- 1 1/2 cups pitted medjool dates
- 1 15-ounce can pumpkin puree (or 2 cups minus 2 1/2 tablespoons)
- 1/2 cup (4 ounces) cream cheese, softened to room temperature
- 2 large eggs
- 1 tablespoon pure maple syrup
- 1 teaspoon vanilla extract
- 1 1/2 teaspoons pumpkin pie spice
- 1/2 teaspoon cinnamon
- 1 teaspoon baking powder
- 1/4 teaspoon salt
Instructions
For the crust:
- Add crust ingredients to a food processor and pulse until a coarse mixture forms. The mixture should hold form when squeezed in your hand. If it does not hold together, add one teaspoon of water to the processor bowl and pulse a couple more times. Remove from food processor and set aside.
For the filling:
- Add dates to clean food processor and pulse until a sticky date ball forms around the inside of the bowl, about 30 seconds. Use a spatula to break the date ball apart and spread it around the food processor bowl. Add pumpkin puree to the food processor and blend on high until well blended. Use your spatula to push the mixture back down the sides of the bowl if necessary.
- In a large mixing bowl, use a handheld mixer to whip the cream cheese. When smooth, add the pumpkin date mixture from the food processor. Use a handheld mixer on medium to blend until smooth, about 1 minute.
- Add eggs, maple syrup, vanilla, pumpkin pie spice, cinnamon, baking powder and salt to the mixing bowl. Blend on medium until well mixed.
Assembly and baking instructions:
- Preheat the oven to 350 degrees F.
- Using either silicone baking cups (recommended) or a muffin tin lined with parchment baking cups, spoon 2 tablespoons of crust mixture into each baking cup. Use gloved hands or a flat bottomed cup to mold the crust mixture into the bottom of each baking cup.
- Spoon a couple large spoonfuls of filling mixture into each baking cup on top of the crust. Use the back of a spoon to gently flatten each mini pie evenly inside the baking cups.
- Bake for 40-50 minutes, or until a toothpick inserted into a mini pie comes out clean. Let cool for 5-10 minutes before attempting to remove from the baking cups.
- Refrigerate for at least 2 hours before serving. Store in a sealed container for up to 4 days.
Notes
The filling can be made-ahead and stored overnight in an airtight container in the fridge. I found this out on accident!
The filling can also be used to fill a 9-inch pie. Cook time would increase 5-10 minutes.
This recipe is easy to cut in half, and would make 12 mini pies. Nutrition information estimated with My Fitness Pal.
Nutrition Information
- Serving Size: 1 mini pie
- Calories: 164
- Fat: 9g
- Carbohydrates: 19g
- Protein: 3g
Find it online: https://projectmealplan.com/fruit-sweetened-mini-pumpkin-pies/